Home/Templates/Real Estate/Move-In Inspection Checklist

Move-In Inspection Checklist

Property Management and Landlord Resource

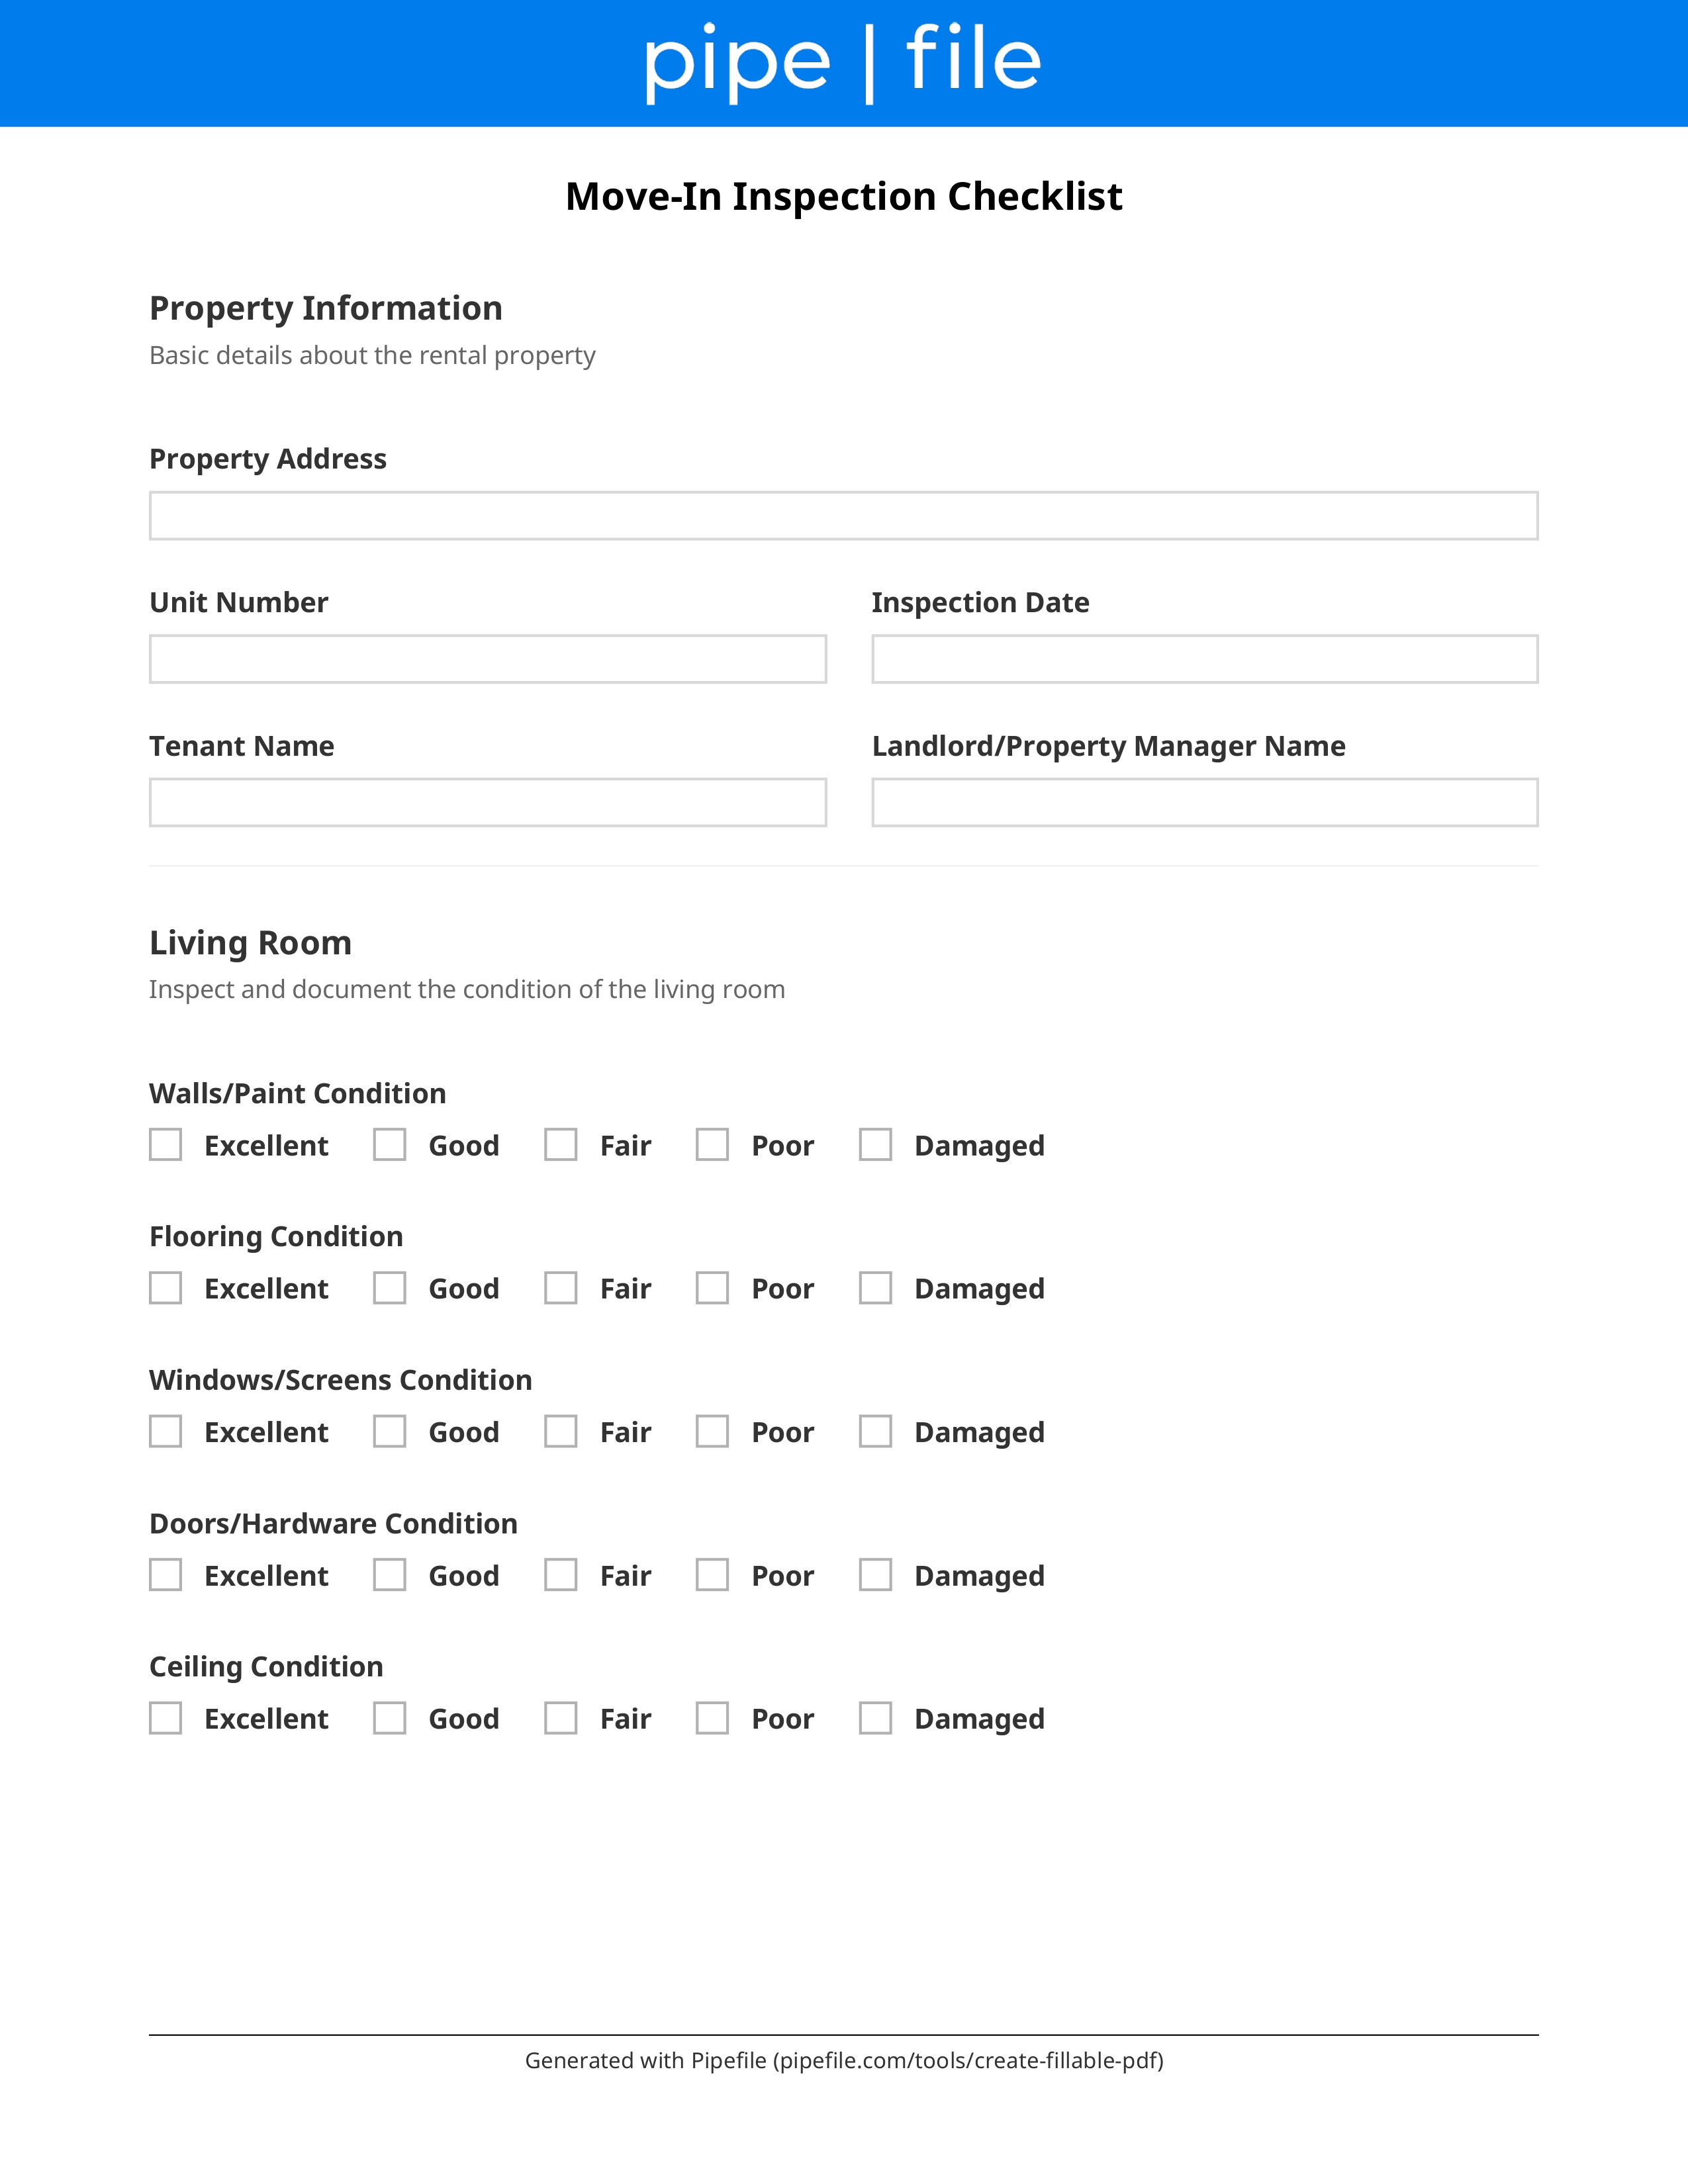
Document rental property condition at move-in with our move-in inspection checklist. For landlords, property managers, and tenants. A move-in inspection creates a baseline record of the unit's condition (walls, floors, ceilings, fixtures, appliances, windows, doors) so both parties agree on what is clean and undamaged. Use it room by room, note existing damage or wear, take photos, and get signatures. When the tenant moves out, compare to the move-out inspection to fairly assess deductions from the security deposit and reduce disputes.
Key Benefits

Create a baseline record of property condition at move-in
Document existing damage or wear so it is not charged at move-out
Reduce security deposit disputes with signed, photo-backed records
Room-by-room structure for consistent documentation
Protect both landlord and tenant with clear expectations
Professional property management workflow

Common Use Cases

Landlords and property managers conducting move-in walkthroughsTenants documenting condition before moving in to protect depositResidential and multifamily move-ins (apartments, houses)Short-term or vacation rental turnover documentationComparing move-in vs move-out to determine deposit deductionsProperty management companies standardizing inspection process

Frequently Asked Questions

What is a move-in inspection?
A move-in inspection is a walkthrough of the rental unit done at or before the tenant takes possession. The landlord (or manager) and tenant document the condition of each room—walls, floors, fixtures, appliances, etc.—and note any existing damage or wear. Both parties typically sign the checklist and may attach photos. This record is the baseline for comparing condition at move-out and deciding what, if any, deductions to make from the security deposit.
Why is a move-in inspection important?
Without a move-in record, landlords and tenants often disagree at move-out about what was already damaged. A signed move-in inspection (and photos) shows what condition the tenant received the unit in. That protects the tenant from being charged for pre-existing issues and protects the landlord by establishing that other damage occurred during the tenancy. Many states expect or require documentation to support deposit deductions.
Who should attend the move-in inspection?
Ideally both the landlord (or property manager) and the tenant attend and walk through together. If the tenant cannot attend, the landlord may complete the checklist and send a copy to the tenant with a deadline to note any disagreements; some jurisdictions require the tenant to have a chance to review and sign. Document who was present and the date.
Should we take photos at move-in?
Yes. Photos (or video) of each room and of any existing damage provide strong evidence if there is a dispute at move-out. Date the photos and keep them with the signed checklist. Store them securely for the duration of the tenancy and any required retention period after move-out.

Checklist

Header

Property address, unit number, tenant name(s), and inspection date
Required

Identify the unit and who is moving in. Inspection date should be on or before the lease start date. Include names of persons attending (landlord/manager and tenant).

Room-by-Room

Living room / common areas: walls, ceiling, floor, outlets, lights, condition
Required

Note holes, marks, stains, carpet wear, scratches. Check that outlets and lights work. Mark 'OK' or describe existing issues. Use consistent scale (e.g. good / fair / damaged) if your form uses one.

Kitchen: cabinets, counters, sink, appliances, flooring, fixtures
Required

Document condition of all appliances (stove, fridge, dishwasher, etc.), cabinet interiors and exteriors, countertops, sink and faucet. Note any missing or broken items. Test that appliances function if possible.

Bathroom(s): tub/shower, toilet, sink, vanity, mirror, flooring, ventilation
Required

Check for cracks, caulk condition, water stains, grout. Ensure toilet and faucets work. Note any mold or pre-existing moisture issues.

Bedroom(s): walls, ceiling, floor, closet, windows, outlets
Required

Same as living areas: document condition and any damage. Note closet condition and any shelving. Check window operation and locks.

Throughout

All windows and doors: operation, locks, screens, seals
Required

Do they open and close properly? Are locks and keys present? Screens intact? Note any broken seals or drafts. Security and habitability matter for compliance.

Systems

Utilities and systems: HVAC, water heater, smoke/CO detectors
Required

Confirm heating and cooling work. Test smoke and CO detectors and note battery/placement. Document water heater condition and location. Note who is responsible for filters and maintenance per lease.

Exterior

Exterior areas (if applicable): porch, patio, parking, storage

For units with dedicated outdoor or parking areas, document condition. Note assigned spaces and any existing damage to fencing, gates, or surfaces.

Handover

Keys, access devices, and garage openers: count and condition
Required

List how many keys, fobs, or openers are provided. Tenant acknowledgment of receipt. Document any that are missing or not yet provided (e.g. to be rekeyed).

Documentation

Photos or video of each room and any existing damage
Required

Take dated photos (or video) of each room and close-ups of any damage or wear. Store with the checklist. Provide tenant a copy or link if possible.

Execution

Landlord and tenant signatures and date
Required

Both parties sign and date to acknowledge the condition as documented. Tenant may have a short period to add comments (e.g. 3–5 days) per local practice or lease. Retain original with lease file.